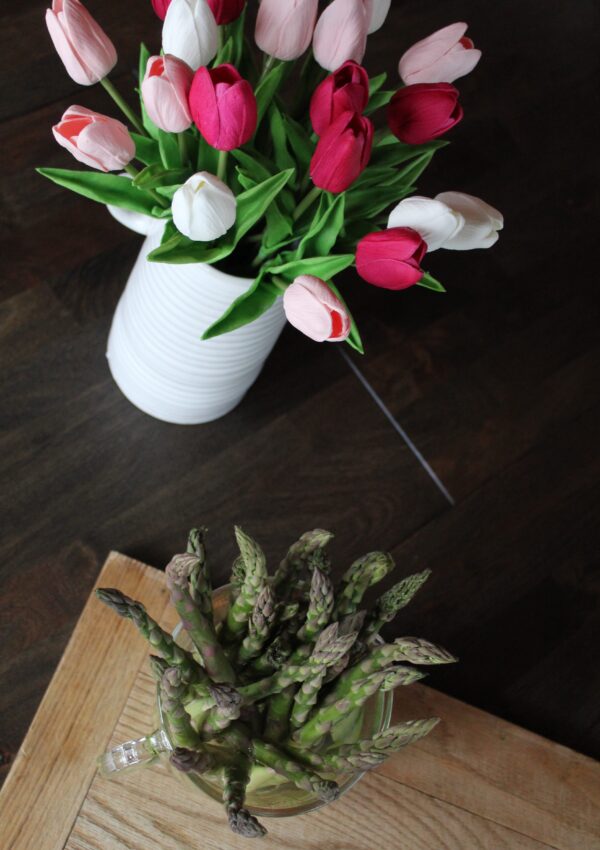
Preserving fresh produce through vacuum sealing and freezing is such a simple, fool-proof method to ensure you have delicious vegetables on hand all year round. These tender stalks of sweet Spring Asparagus are blanched, rested in an ice bath, dried and then vacuum sealed. The perfect way to keep asparagus on hand!

I love Spring, for a number of reasons, but one of the highlights is definitely Asparagus Season. The only complaint about it? It’s too short. Sure, you can purchase asparagus year-round, but there is nothing like fresh asparagus from a local farmers market. Maybe you’re even lucky enough to have a trusted, productive patch of your own.
When the season rolls around, I find myself cooking asparagus a few times a week to take advantage of that short, local growing season. I also make sure that I buy extra to preserve for the months to come. When asparagus is on sale, I purchase upwards of 10lbs. It is an easy afternoon task to blanche the asparagus, let it sit in an ice bath, dry thoroughly, chop in to desired pieces and vacuum seal before being put in the freezer to be enjoyed at a later date.
Do I Have to Blanche Before Freezing?
Unfortunately, asparagus – like many other vegetables – needs to be blanched. It would be so convenient to just pop these tender spears in to the freezer, but once thawed, you would be left with mushy vegetables that have lost their color and most of their nutritional content.
Blanche your vegetables to ensure that they retain their color and can be used in pastas, stir frys or quiches in the future. You won’t be able to thaw these and roast them (which is our favorite way to eat asparagus) but it will still allow you to have these delicious vegetables on hand to use them in a variety of other ways.
How To Preserve Spring Asparagus
Preserving fresh asparagus is VERY simply, albeit a little time consuming.
What you will need… *
A deep saucepan with boiling water
A large bowl filled with ice water
A large baking sheet or cutting board lined with a clean tea towel or paper towels
A FoodSaver vacuum sealer or Plastic Freezer Bags
A kitchen scale – this is optional, but I like to keep each frozen bag around the same weight.
The time it takes to complete this will be well worth it when you’re pulling asparagus from the freezer for quick meals. A perfect way to remember beautiful spring days and asparagus season.

Prep Your Space. Bring your water to a boil. Place an ice bath in a convenient spot nearest to the pan for easy transfer of asparagus from pan to bowl. Ready a baking sheet with a clean tea towel or paper towels. Gather together tongs, a cutting board, sharp knife, a kitchen scale and your vacuum sealer. The more you have everything in place beforehand, the more stress free this process will be.
Trim Your Asparagus. Remove the tough, woody ends of the asparagus. Discard these.
Once Your Water Is Boiling, working in batches, add asparagus to the water for 3-4 minutes. This length of time will depend on the thickness of the asparagus stalk. Thicker ones will need to stay in for a bit longer than thin ones.
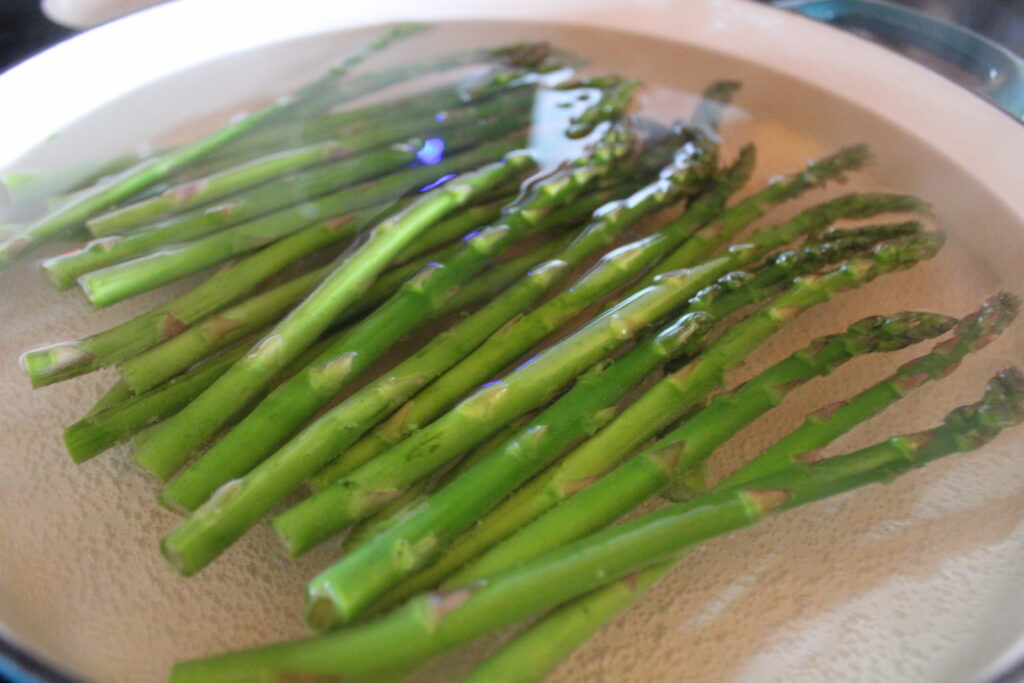
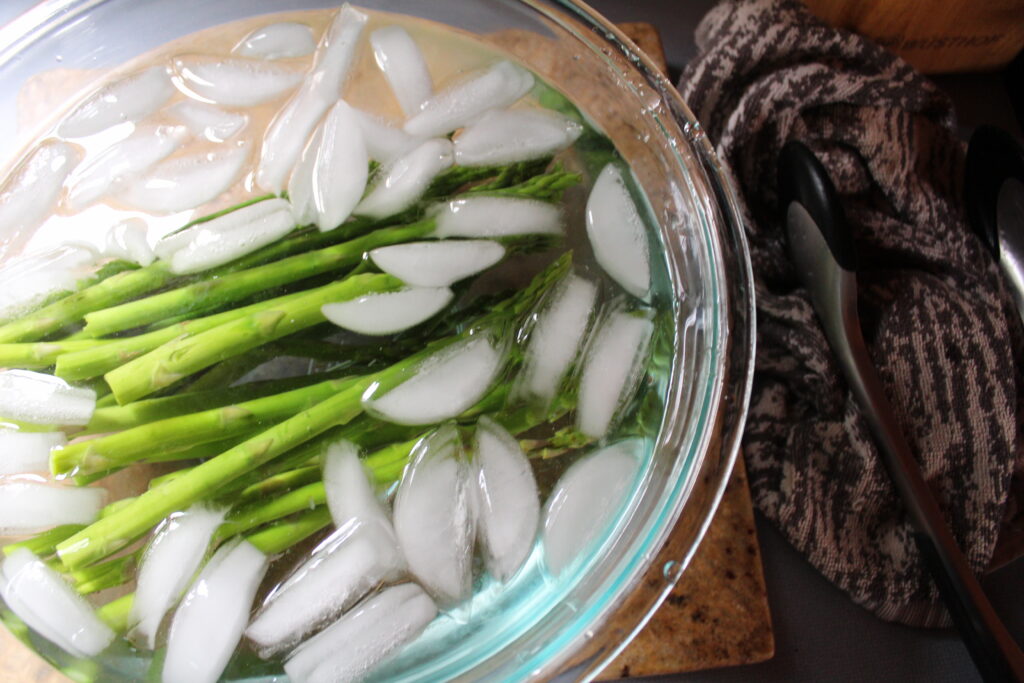
When Your Timer Goes Off, using your tongs, transfer asparagus immediately to the ice bath. They will need to stay here for the same amount of time that you blanched them for. It is very important to allow them to cool in this icy water in order to halt the cooking process. We don’t want mushy, overcooked asparagus to go in to the freezer
While they are sitting in the ice bath, start your next batch of asparagus in the boiling water. It’s easy to get in to an assembly line kind of rhythm. Make sure you have some good music on to help the time pass. 🙂
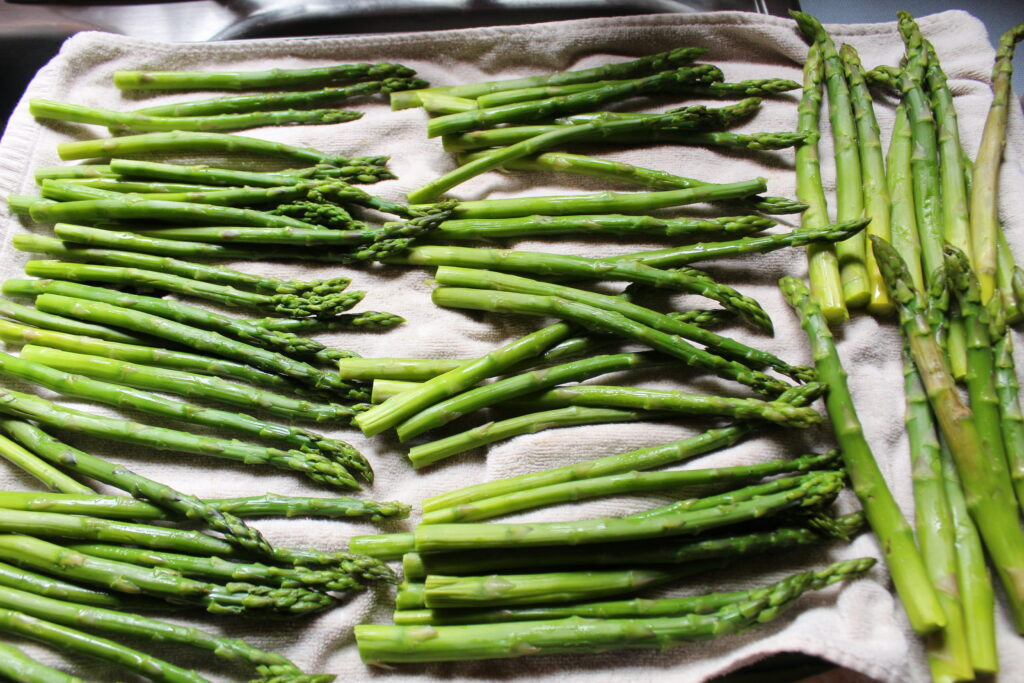
Once Time in The Ice Bath Is Up transfer the cooled asparagus to a towel-lined baking sheet in a single layer and allow them to thoroughly dry. This is honestly the most time consuming part of the whole process. I like to lay mine on clean tea towels and blot dry with paper towels.
Once Your Asparagus is Dried, you’ll want to pull out your vacuum sealer and get to work saving all of those gorgeous green beauties!
Begin By Deciding If You Want To Cut Your Asparagus or Leave As Is. You won’t be able to roast these, as we do for our Favorite Roasted Asparagus, so cutting them in to smaller, bite-size pieces is the way I choose to save them. They are easier to add directly to a stir fry or toss with a creamy pasta instead of fighting with frozen food.
Once Your Asparagus Is Cut to your desired length, prepare your vacuum seal bag or ziplock freezer bag and get to putting away those veggies! 🙂


This really is the easiest, foolproof way to preserve asparagus.
I think you’ll enjoy having these beautifully preserved vegetables in the freezer. It’s so convenient to pull them straight from the freezer to add to a variety of dishes for a pop of color or added nutrition.
You can keep these in the freezer for up to 8 months.

What Other Vegetables Are Good To Blanche and Freeze?
There are so, so many vegetables that do well with the Blanche and Freeze method.
Canning can be overwhelming to learn, as well as time-consuming, plus… sometimes I just don’t want to be working over a hot stove in the heat of summer to boil and preserve the fruits of my garden labor…
So, blanching and freezing cuts down on hands-on time and allows me to work quickly. And a vacuum seal bag will never fail me like a seal on a canned jar might. Win, win, right?
Our Other Favorite Vegetables To Blanche And Freeze
Broccoli
Cauliflower
Green Beans
Yellow Beans
Brussels Sprouts
Corn on the Cob (cut from the cob to make future use much easier and save space)
Once You Start Preserving Garden Produce this quick and easy way, you’ll look forward to finding new and creative ways to use vegetables.


Leave a Reply